
Here’s how you can save money and make your own yogurt at home
Easy, cheap, and delicious
 Credit:
Getty Images / Foxys_forest_manufacture
Credit:
Getty Images / Foxys_forest_manufacture

Recommendations are independently chosen by Reviewed's editors. Purchases made through the links below may earn us and our publishing partners a commission.
Growing up, yogurt was never homemade. It was purchased in plastic containers that we stowed in the fridge, or in smaller cups destined for my lunchbox. I don’t think it ever occurred to me that yogurt was made—it just was.
Years later, as an adult, I decided to make yogurt. A small decision, maybe, but I swear it was life-changing.
I’ve always loved to bake because on some level the changes the food undergoes as it forms looks like magic. You take a bunch of ingredients, throw them together into a wet mixture, and then somehow turn that into a solid cake or tray of cookies. Yogurt has a similar magic. It can be made from milk and a small amount of store-bought yogurt. It forms from this liquid when you leave it to sit in a warm place, slowly congealing into something you might want to eat.
Yogurt is one of the easiest things you’ll ever make, and the homemade stuff is better and cheaper than anything you can buy in the store.
So how do you do it, then?
You’ll need: a quart of milk and a quarter cup of whole milk yogurt (plain) with live active cultures. The milk should be 2% or whole, but I’m told you can make yogurt from skim milk or nondairy milk, although I can’t speak to how well it might work. It’s important that the yogurt have live active cultures, because this is the thing that will make the magic happen! You might want to look for common ones like L. Acidophilus, L. Bulgaricus, Bifidus, S. Thermophilus, or L. Casei. You’ll also need a heavy pot with a lid—a Dutch oven is a good choice, but use what you’ve got!
Pour the milk into your pot and heat it to a rolling boil. This kills bacteria and changes the protein structure of the milk so it will make creamy yogurt. Make sure you stir often to prevent the milk from scalding.
When the milk starts to boil, remove the pot from the heat and let cool until the milk is warm, but not hot, to the touch. Stir occasionally to prevent a skin from forming.
Add your starter (which is the yogurt!) and stir gently. Put the lid on the pot.
{{ amazon name="Dash Greek Yogurt Maker", asin="B00DDXYBV0", align="right" }}
You want to put your pot in a warm place to rest for a while. During this time, the healthy bacteria from the culture will multiply in the warm environment and turn your mixture into yogurt! There are a bunch of methods for how to do this. Some folks turn on their oven light and leave the yogurt in the oven. Others use a yogurt maker or a cooler with a hot water bottle in it and leave their pot wrapped up in towels or blankets. In the past, what I’ve done is set my toaster oven to 110°F or so and leave the pot in the toaster. If you have a particularly sunny spot in your house, that might work too.
Whatever you choose to do, the bulk of your work is now done. All the yogurt needs now is some rest. Give it four hours at minimum, but I’d recommend leaving it overnight. 12 hours is ideal. Some people do longer if they want their yogurt to be lactose-free—during this time, the bacteria from the culture is feeding off the lactose, so if you leave it for up to 24 hours, there is likely to be minimal lactose remaining. Keep in mind that lactose is a sugar, so the longer you leave your yogurt, the tarter it will be.
When you’re done, remove the yogurt from the heat and take off the lid. It should be set and gelled in texture, with a layer of whey on top. Pour off the whey if you’d like, or stir it back into the yogurt for a creamier, more liquidy texture. Some people like to drain their yogurt in a colander lined with a cheesecloth, coffee filter, or clean dishcloth to give it a Greek yogurt-like texture. It’s your yogurt! Do what you like!
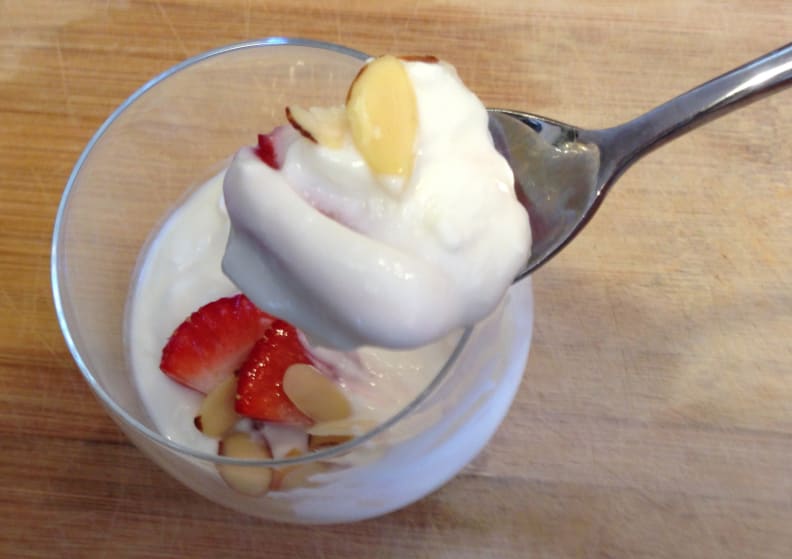
When you’re satisfied, put it in the fridge and refrigerate for at least an hour before serving. Serve with fruit, nuts, or granola if you like—and if it’s too tart, add a swirl of honey.